Sunday, August 18, 2013

Saturdate

Yesterday was one of those incredibly refreshing days--the kind that makes you wake up the next morning with a overflowing, thankful heart.

I woke up early because I can't sleep in anymore--those days seem to be gone--but that was completely okay because it was 55 degrees outside and perfect for a long Saturday morning walk with my little lady, Penny.  Daniel met me at the house at 10 to go cover an assignment at an elementary school, then we headed out to the Farmers Market. SUCH PERFECT WEATHER.

After grabbing some more flowers to dry for the wedding, we came back to the house and did yard work for the rest of the afternoon.


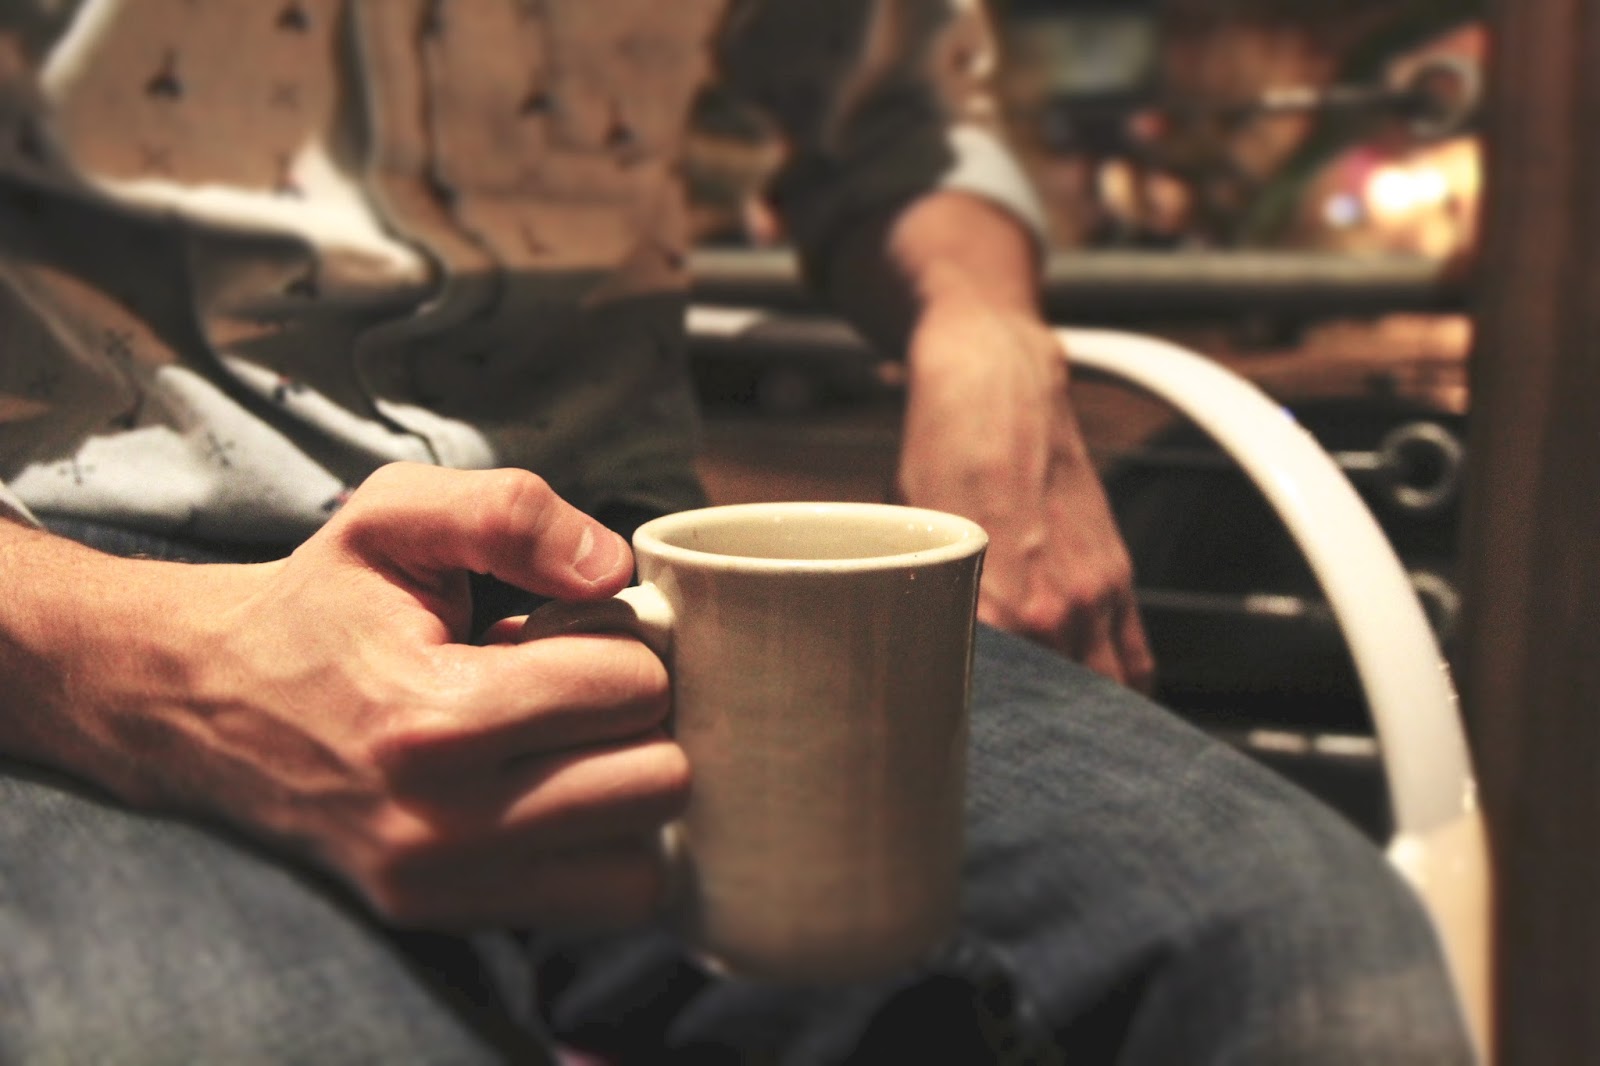
Last night was just perfect.  We sat at a coffee shop and just enjoyed being together for a couple of hours--no work talk, no wedding planning.  We're excited about those things, but it was nice to let ourselves relax together for a little while.  And it was so nice outside, we decided to walk around downtown Fayetteville after we finished our coffees.


I hope you all had a wonderful weekend, too!


Thursday, August 15, 2013

Wedding Present!

After researching and wanting this camera for over a year now, Daniel and I decided to go for it and get it as our wedding present to one another.  This is our first DSLR, a Canon 60D, and we are so excited for all the adventures it'll capture throughout our first years of marriage! 

I have lots of other fun groom gift ideas though, and now that I'm not going to use them, I'll be doing a post on them soon! :)


Tuesday, August 13, 2013

Wedding Inspiration: Round Balloons

I NEVER thought I'd like the look of balloons at a wedding.  Balloons have always reminded me of my elementary school birthday parties--my mom would tie big bundles of them to the mailbox so the whole neighborhood would know we were the reason the street was blocked with parked cars.  I never considered using them for one of my more mature moments--like my wedding--but I've recently become super attracted to this whole round balloon phenomenon, especially the ones with the pretty streamer bunches on the strings.  I mean LOOK!


1


2


3

I kind of think I might just be losing my mind in all of this wedding stuff.  It has finally happened, eight months into this engagement mess and two months away from this big ol' shindig.  Things look cuter all of a sudden, but I don't know if they actually fit us. Either way, these balloons would be fun for a shower or party, if not the actual wedding!

Thursday, August 8, 2013

Planning Progress: Wedding Invitations

We began sending out invitations last week--we're for real getting married!


Even though I designed about 12 different invitation options, the one we ended up landing on was super easy to put together.  After experimenting with color images and not falling in love with how they were printing, I decided I liked black font on Kraft paper.  I found and downloaded as many free fonts as possible (you can look up free fonts on Pinterest--there are a LOT of really cute ones!) and basically just played around with them until I liked what I saw.

The graphic is from a vintage botanical print--there are also lots of free vintage printables on the big ol' world wide web.  So convenient, and I really love botanical prints lately.  It took a little time to find a few options I liked for fall, but they're out there!  


After getting them printed (I'm blessed to have family in Tulsa with a printing and advertising company), I spent all of my free time for two days addressing envelopes.  I never knew all my doodling in middle and high school would be good for something! 

Then Daniel and I got to work putting them together and sealing them in envelopes over a few episodes of Friday Night Lights (our first Netflix show together! haha).  

We tied a strand of twine around the invite and RSVP card, then stuck a little dried baby's breath under the bow.  I was shocked that we only used about half of a dried baby's breath bouquet from Hobby Lobby for all of them, which is only a few dollars (and even less with their every day 40% off coupon).


We've already gotten a few RSVPs back--no turning back now! Haha :)

Tuesday, August 6, 2013

The Bridesmaids Write: Nataley (MOH)

In today's The Bridesmaids Write post, my absolutely wonderful best friend and Matron of Honor shares what all went into planning my fantastic bachelorette/personal shower weekend.  As you saw in previous posts, it was one of the most incredible, beautiful weekends of my adult life, and I owe it to this lovely lady!


Jordan’s bachelorette night/personal shower was by far been the best event I’ve had the privilege to plan. Everything went so smoothly and turned out so much like we wanted it to!  I must have actually made a good plan, which is pretty rare for me most of the time. Jordan can attest to this, but as I’m getting older planning is becoming a part of life I have to learn. 

I honestly could not have done it without the bridesmaids--Lizz, Rachel, and Kali. They were so very helpful making sure we had everything and also helped disperse some of the expenses. 

For you future shower throwers of any kind, I just want to go over some of the main areas of planning the bridesmaids and I discussed to create such a wonderful weekend!

Theme: 
This is probably my favorite area so I’ll start with it! 

Establishing a theme and sticking to it will help any event have a focus and leave guests feeling good and, most importantly, comfortable. When Jordan mentioned she wanted to do some glamping and then a flower potluck, ideas starting flooding my mind--I was so excited! Since we had the bachelorette party and shower in Fayetteville and I live in Tulsa, Jordan sent me links to a couple of cabiny places where we could potentially stay. One of the places she mentioned was a cabin in the same state park she is getting married, and to me this was the perfect place so we could all walk around and visualize the wedding day with Jordan. 

When we got to the cabin we were so excited because it was so adorable. The outside was made of stone and the inside had wood floors, a fireplace, a little bedroom, a kitchen and living area--it completely fit in with our glamping theme. 


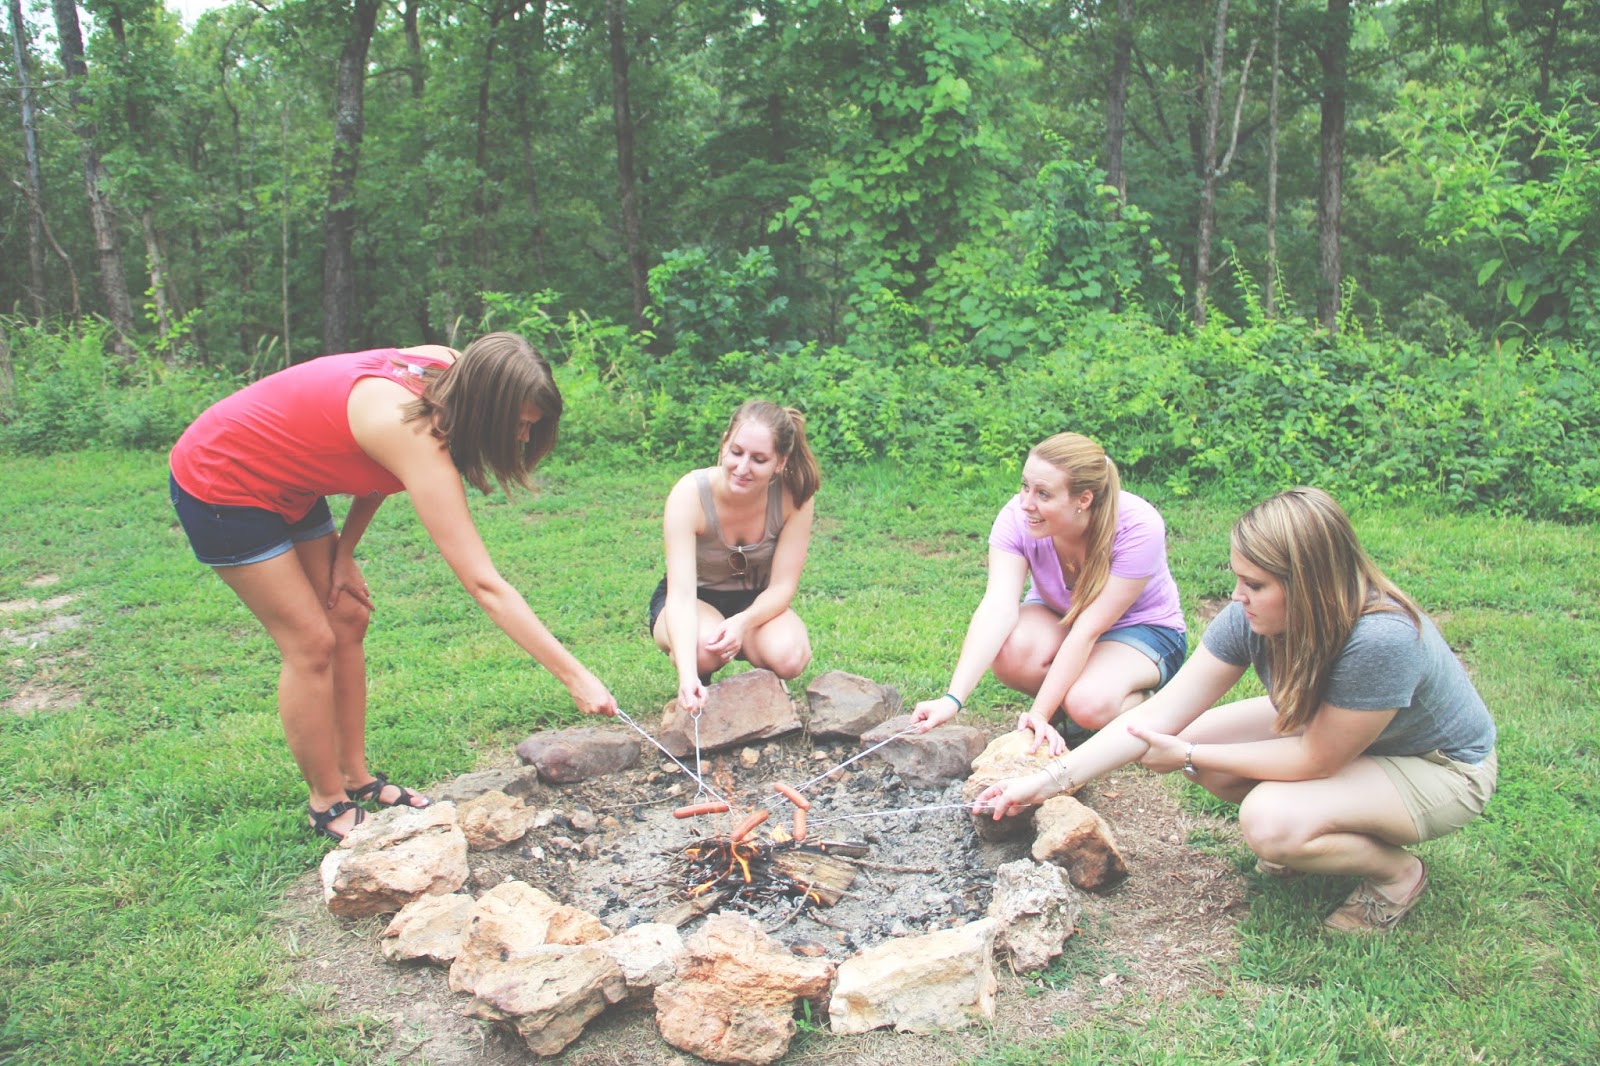
The night was filled with roasting hot dogs, making smores, lots and lots of chatting, and a few unwelcome critters (they were NOT part of the theme).


The flower potluck was pretty self explanatory as far as theme: 
flowers, flowers, and more flowers. 


We also only had 8 girls there, which I recommend to brides really wanting to spend some quality time with their best gals. It made it easier to talk with each other and created a super casual atmosphere.
For both of these events a common theme we stayed true to was handmade. This mainly showed up in the decorations, but we also brought our own food and visited the farmers market to support local farmers by buying our flowers from them.


Decorations: 
Okay, I lied… this is actually my favorite area.

I love working with my hands and crafting. There are so many cute and easy things you can make to fit any theme. My recommendations would be to think of inexpensive materials that will make a big impact in a room and try to come up with unique ideas (maybe use Pinterest as a guide rather than an instruction manual). 

My current favorite material to use is paper. For Jordan’s shower I found an old book and cut out heart shapes from the pages. I took the hearts and lined them vertically and sewed them together into a strand. I made several strands then tied them around an embroidery hoop to make a hanging heart mobile. This decoration made a big impact in the room and cost me nothing since I already had a book, embroidery hoop, and sewing string! Poster board, cardstock, newspaper, or any type of paper would work, and you can find them in bulk for next to nothing.


Saving money is important to me and I know Jordan really appreciates the sentiment in taking the time to make something rather than buying it off the shelf. She and I are very much alike in this area, and it makes the shower and wedding planning process A LOT of fun.


Food: 
The food was delicious! I’m not going to go in depth on food because you have so many options,  but I can say that it was really important to make a list and have the hostesses/bridesmaids make a dish or two to put together a complete spread. This was super helpful and also saved us all money. We all made something at home beforehand and brought it with us to Fayetteville.  The only thing we bought already made was a delicious cheesecake (Jordan's favorite) from Rick's Bakery in Fayetteville.


Games: 
What shower or bachelorette party doesn’t have games?! 

The game I most recommend is the Newlywed Game. I'm sure a lot of people think it’s corny, but I just love how the groom gets involved.  I asked Daniel a list of questions before the shower and then asked the same questions to Jordan at the shower to see if she would get the same answers as Daniel. By the end of the game, we all got to know Daniel a little better and also saw how perfect Jordan and Daniel are for each other.  

There are a lot of other types of games out there for personal showers, but we preferred not making everyone uncomfortable by playing something raunchy, which Jordan appreciated.  We established our theme as laid back, handmade, but still intimate with a small group and good conversation.


I love showers! 
They do take a little time to put together, but afterward you have awesome memories that may not have happened if you didn't take time to plan.

Thanks for taking the time to read and please don’t forget to donate to help out Daniel and Jordan’s goal to help as many people as possible by their wedding date--October 26th!

Helping others is so simple and we have so much to give!


-Nataley 

Monday, August 5, 2013

DIY Decor: Tree Cookie Photo Transfer

This DIY was super easy and I am so happy with how it turned out!  I've done photos to canvas transfers before, but wanted to figure out a more theme-appropriate way to display our engagement photos (by the incredibly talented Kinsey Mhire) at the wedding.  I saw this post on A Beautiful Mess a couple of weeks ago, and knew I had to try it on tree cookies.

I didn't go out and buy a roller like they suggested.  And I didn't use photo paper--just regular printer paper!  
What you'll need:

-Printed photos on regular ol' paper.  
(Make sure you resize the photos to fit the area you want them to cover.  I did this in Photoshop.)
-Mod Podge
-Paint brush
-Tree cookie (you can chop 'em yourself, or find them in the wood aisle at Hobby Lobby)
-Scissors


I began by cutting the photo to fit the surface of the wood.  I then covered the front of the photo with mod podge with my paint brush and gently stuck it face down to the tree cookie.  Since I didn't buy a roller, I used the flat edge of my phone to smooth out any air bubbles--you could also use a credit card, or just about anything, really.


The hardest part was waiting an hour to see how it would turn out!  After letting it dry, I took a wet rag to the paper and began gently dabbing/rubbing it until the entire surface was damp.  I slowly peeled the edges as well as I could, and used the rag to gently rub the rest of the white paper off to reveal the picture!

TADA!


I can't wait to do a few more!

Friday, August 2, 2013

Wedding Inspiration: Bridal Shower


I found this article on the Darling blog inspiring this morning :)

Also, in light of my flower potluck shower a couple of weekends ago, this video from Kinfolk is super wonderful!


Happy Friday!